
A Chef’s Choice knife sharpener is a vital tool in the kitchen, ensuring that your knives maintain razor-sharp edges for optimal performance. If you’ve recently acquired this culinary essential and are looking to unlock its full potential, this guide will help you through the steps on how to use a Chef’s Choice knife sharpener effectively, helping you achieve professional-level sharpness for your blades.
How to Use a Chef’s Choice Knife Sharpener: A Step-by-Step Guide
Understanding Your Chef’s Choice Model:
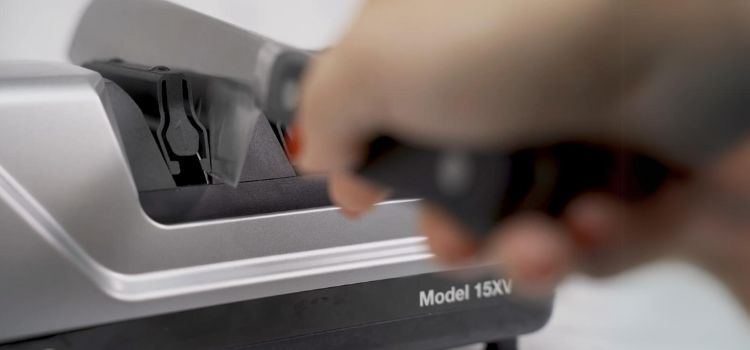
Familiarize yourself with the specific model of Chef’s Choice knife sharpener you have. Each model may have slightly different features and instructions, so read the user manual for accurate information.
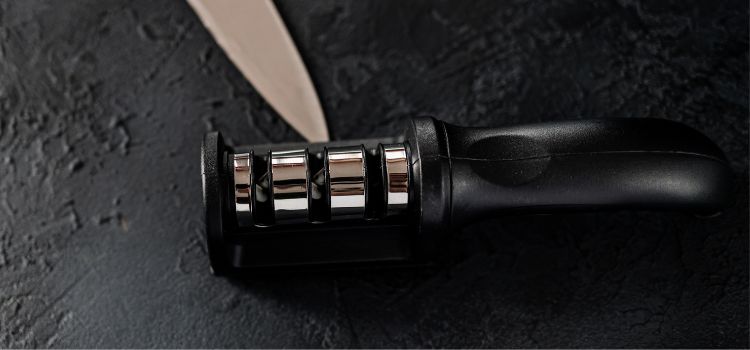
Prepping the Knife:
Start with a clean and dry knife. Remove any remaining food residue or debris from the blade. A clean knife ensures a smoother and more effective sharpening process.
Selecting the Right Stage:
Chef’s Choice knife sharpeners typically have multiple stages, each serving a specific purpose. The first stage is for coarse sharpening, the second for fine sharpening, and some models have additional stages for polishing. Choose the appropriate stage based on your knife’s condition and your desired level of sharpness.
Setting the Angle:

Chef’s Choice knife sharpeners are designed to maintain a consistent sharpening angle. Ensure your knife is placed securely in the designated slot, and the sharpener will take care of the rest.
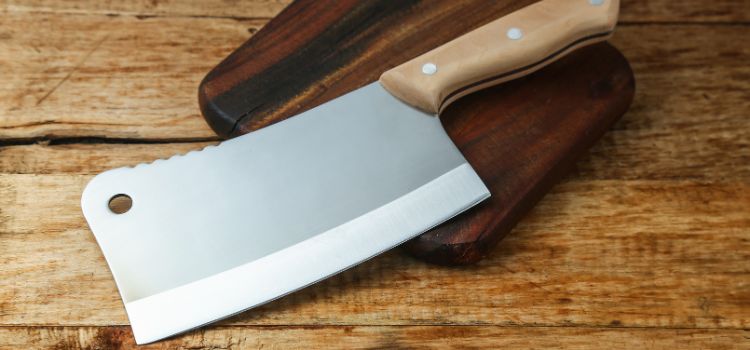
Coarse Sharpening (if needed):
If your knife is dull start with the coarse sharpening stage. This stage will quickly restore the edge. Pull the knife through the slot in one smooth motion, following the natural curve of the blade.
Fine Sharpening:
Move on to the fine sharpening stage for honing and refining the edge. Similar to the coarse stage, pull the knife through the slot smoothly. This stage enhances the sharpness and precision of the blade.
Polishing (if applicable):
Some Chef’s Choice models offer a polishing or stropping stage for an extra level of refinement. Use this stage to achieve an incredibly sharp and polished edge.
Checking the Sharpness:
After sharpening, carefully assess the sharpness of your knife. If needed, you can repeat the process to achieve the desired level of sharpness.
Cleaning the Knife:

Rub the knife with a clean, wet cloth to remove any metal particles left on the blade during the sharpening process.
Maintenance and Care:
Regularly clean your Chef’s Choice knife sharpener to ensure optimal performance. Follow the manufacturer’s guidelines for maintenance, including replacing sharpening pads or disks as needed.
Conclusion:
Precision at Your FingertipsThe Chef’s Choice knife sharpener is a game-changer in the kitchen, putting precision at your fingertips. By following these step-by-step instructions, you can make sure that your knives are consistently sharp, making your culinary endeavors more efficient and enjoyable. Embrace the art of precision sharpening with your Chef’s Choice, and let your kitchen creations reach new heights of excellence.
FAQs
The frequency of sharpening depends on usage. For regular kitchen knives, sharpening every 2-4 weeks is generally sufficient. However, knives used more frequently may require more regular sharpening.
Yes, Chef’s Choice offers models specifically designed for serrated knives. Ensure you have the appropriate model for serrated blades.
Yes, it is normal for the knife to feel slightly warm after sharpening, especially during the coarse sharpening stage. This is due to the friction generated during the sharpening process.
Chef’s Choice knife sharpeners are designed for knives, not scissors. Attempting to sharpen scissors with these devices may damage the blades.
Follow the manufacturer’s instructions for your specific model. In most cases, you can use a damp cloth to wipe the pads or disks clean.